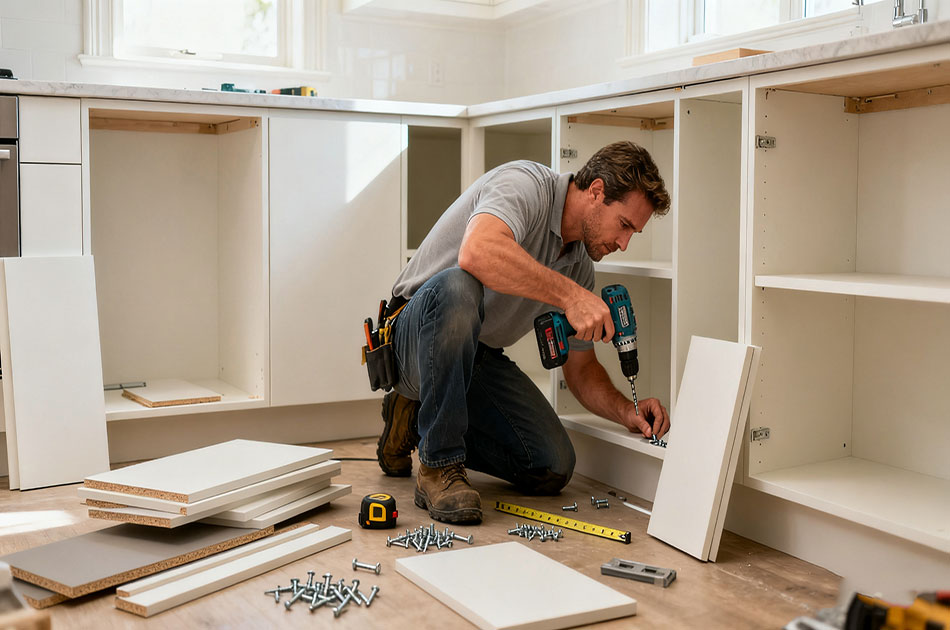
Staring at a pile of flat-pack kitchen cabinet parts and feeling stuck? You’re far from alone. But assembling these cabinets doesn’t have to be overwhelming—with the right prep, tools, and steps, it can be straightforward and even satisfying. Below is a streamlined, SEO-friendly guide to help you build your cabinets efficiently.
- Tool Prep: Gather essential tools (screwdrivers, drill, level) to avoid mid-process delays.
- Space Setup: Organize your workspace to boost safety and efficiency.
- Step-by-Step Build: Start with inventory checks, then assemble frames and add hardware for stability.
- Time Savers: Use power tools, pre-plan parts, and follow instructions to cut down on time.
- Avoid Mistakes: Don’t skip inventory, measurements, or safety gear—these prevent costly rework.
You don’t need fancy equipment—just these core tools to get the job done right:
- Flat-head & Phillips Screwdrivers: Secure small parts manually; ideal for tight spots.
- Cordless Drill: Speeds up drilling and screw-fastening (cut assembly time significantly).
- Level: Ensures cabinets sit straight—prevents misaligned doors or sagging shelves later.
- Measuring Tape: Confirms parts fit your kitchen space; avoids “too big/too small” surprises.
- Hammer: Gently taps pieces together for a snug fit (never use force—you’ll damage parts).
- Clamps: Holds components steady while you secure them; reduces movement during drilling.
- Stud Finder: Locates wall studs for safe cabinet mounting (critical for long-term stability).
- Square Tool: Keeps cabinet corners straight; guarantees accurate angles.
- Utility Knife: Opens packaging or trims edges (use carefully to avoid scratching parts).
- Pliers: Grips hard-to-reach screws or twists stubborn fasteners.
- Safety Glasses: Protects eyes from dust/debris when drilling or cutting—non-negotiable.
A messy space leads to mistakes. Follow these steps to set up:
- Clear the Area: Move furniture, appliances, or clutter—leave enough room to handle large panels.
- Choose a Sturdy Surface: Use a heavy-duty table or workbench to support cabinet parts and tools (flimsy surfaces cause accidents).
- Organize Tools: Keep frequently used tools (drill, screwdrivers) within arm’s reach (use a tool caddy for portability).
- Sort Parts: Group components by type (shelves, doors, hinges, screws) and label them—no more hunting for pieces.
- Prioritize Safety: Wear safety glasses (especially with power tools), ensure bright lighting, and wipe up spills to prevent slips. Lift heavy parts with your legs (not back) to avoid injury.
Follow this sequence for a stable, functional end result:
- Unpack parts carefully (use a utility knife to cut tape—don’t slice through panels).
- Lay all components on a clean, flat surface and cross-check against the manufacturer’s list. Confirm you have:
- Cabinet panels (side, top, bottom), shelves, drawer boxes/fronts
- Hinges, drawer slides, and hardware
- Screws, fasteners, and assembly instructions
- If parts are missing or damaged, contact the retailer immediately—don’t proceed with incomplete pieces.
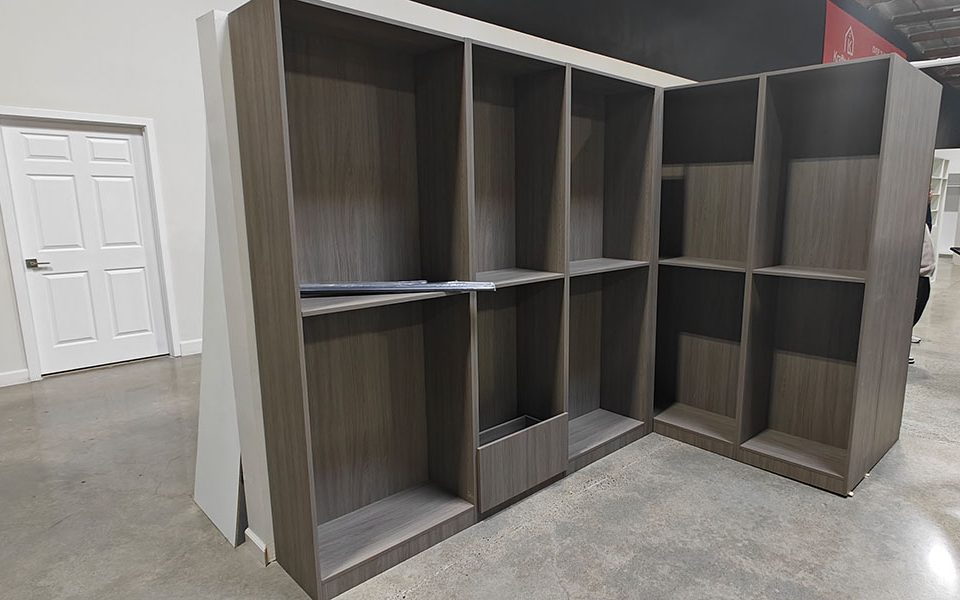
- Gather side, top, and bottom panels (inspect for warping first).
- Attach the top/bottom panels to the side panels with screws. Use a square tool to ensure corners are 90° (prevents a lopsided frame).
- Install shelves (adjustable or fixed) per your design—secure them tightly.
- Add the back panel: Nail or screw it to the frame for extra stability.
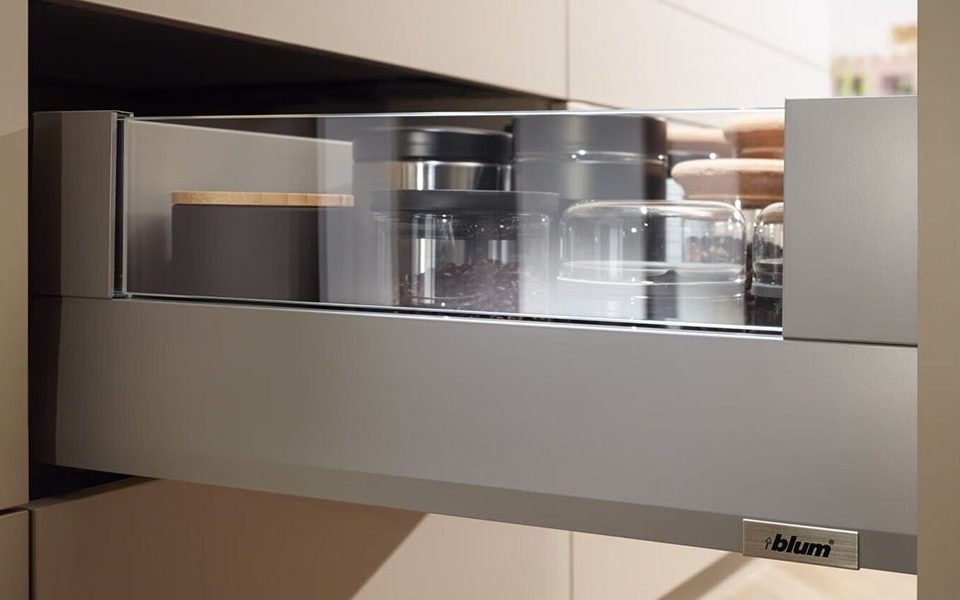
- Drawer Slides: Mount side-mounted slides to the cabinet (follow instructions). Check they’re level—test sliding before adding the drawer box.
- Drawer Boxes: Assemble drawer sides, front, and back with wood glue and nails. Ensure it fits smoothly in the slides.
- Cabinet Doors: Attach hinges to doors and the cabinet frame. Adjust hinges until doors open/close without sticking.
Place the assembled cabinet in its final spot. Use a level to check if it’s even—add washers or adjust cabinet feet to fix gaps. Unlevel cabinets cause door misalignment!
- Read Instructions First: Familiarize yourself with steps before starting—avoids “oops, wrong part” errors.
- Pre-Drill Holes: Drill small pilot holes for screws (prevents wood splitting and speeds up fastening).
- Work in Sections: Finish one cabinet fully before starting the next—no mixing up parts.
- Ask for Help: Two people make holding large panels easier (cuts time and reduces strain).
- ❌ Skipping inventory checks (missing parts = project delays).
- ❌ Neglecting measurements (cabinets won’t fit your kitchen if you guess).
- ❌ Ignoring leveling (uneven cabinets = broken doors/shelves later).
- ❌ Assuming parts are universal (each brand has unique hardware—follow its instructions).
- ❌ Forgetting safety gear (dust in eyes or cuts from sharp edges are easy to avoid).
Q1: What tools do I need for flat-pack kitchen cabinets?
A1: Essential tools include screwdrivers, a cordless drill, level, measuring tape, hammer, clamps, stud finder, square tool, utility knife, pliers, and safety glasses.
Q2: How do I prepare my workspace?
A2: Clear obstacles, use a sturdy work surface, organize tools/parts, and prioritize safety (lighting, clean floors, protective gear).
Q3: What’s the first step in assembly?
A3: Unbox parts and check inventory—ensure no pieces are missing or damaged.
Q4: Why is leveling important?
A4: Unlevel cabinets lean, causing doors to misalign and shelves to sag. Always level before finalizing placement.
Q5: How can I make assembly faster?
A5: Use a drill, pre-drill holes, work in sections, and read instructions upfront.
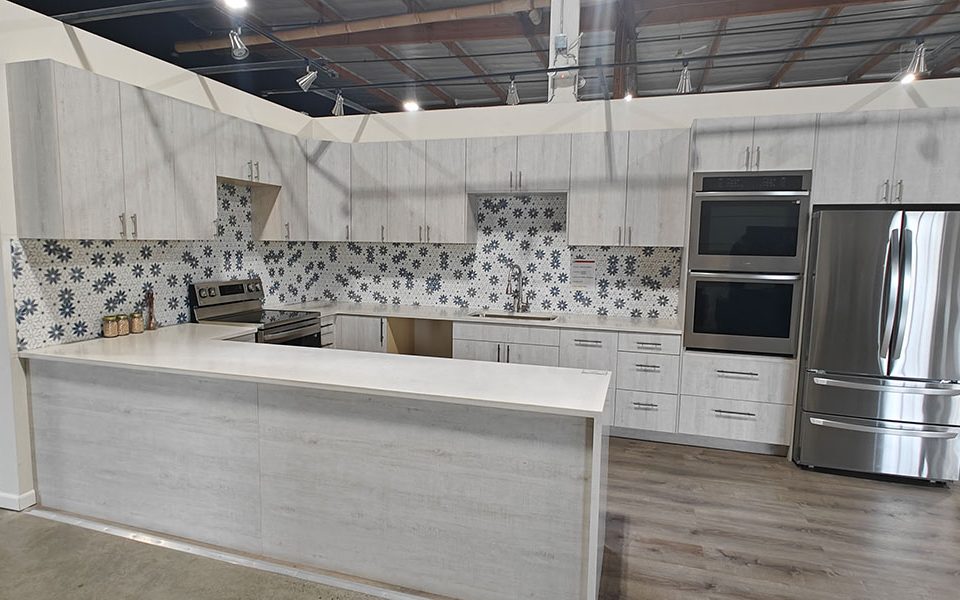
Assembling flat-pack kitchen cabinets is a rewarding DIY project—if you plan ahead. Gather your tools, organize your space, and follow the steps slowly. With patience, you’ll have functional, custom-looking cabinets that transform your kitchen. Enjoy the process (and the pride of a job well done)!

